When setting up Firebase to use with a Flutter app you will need to find your apps application id and get an SHA1 certificate. During this process you will need to open the build.gradle file of your Flutter project in Android Studio and you may need to change the flutter SDK path. You may encounter some problems if you haven’t done this before, and so I’ll cover a few of those issues, and how to deal with them in this post.
Open Flutter app in Android Studio
If you haven’t done this before open your app project in Android Studio. If you see a yellow message across the top of the main windows about installing the Flutter Extension, then go ahead and install it, you’ll also need to restart Android Studio.
Once you’ve opened your Gradle file you may notice a Gradle Exception in it saying something like “Gradle exception flutter SDK not found”. To fix this, read on.
Android Studio settings
- Press
Ctrl + Alt + Swhen you are in Android Studio, and the Settings Window will open - Select Languages & Frameworks > Flutter and enter the Flutter SDK path. Read below to find out how to find out the Flutter SDK path.
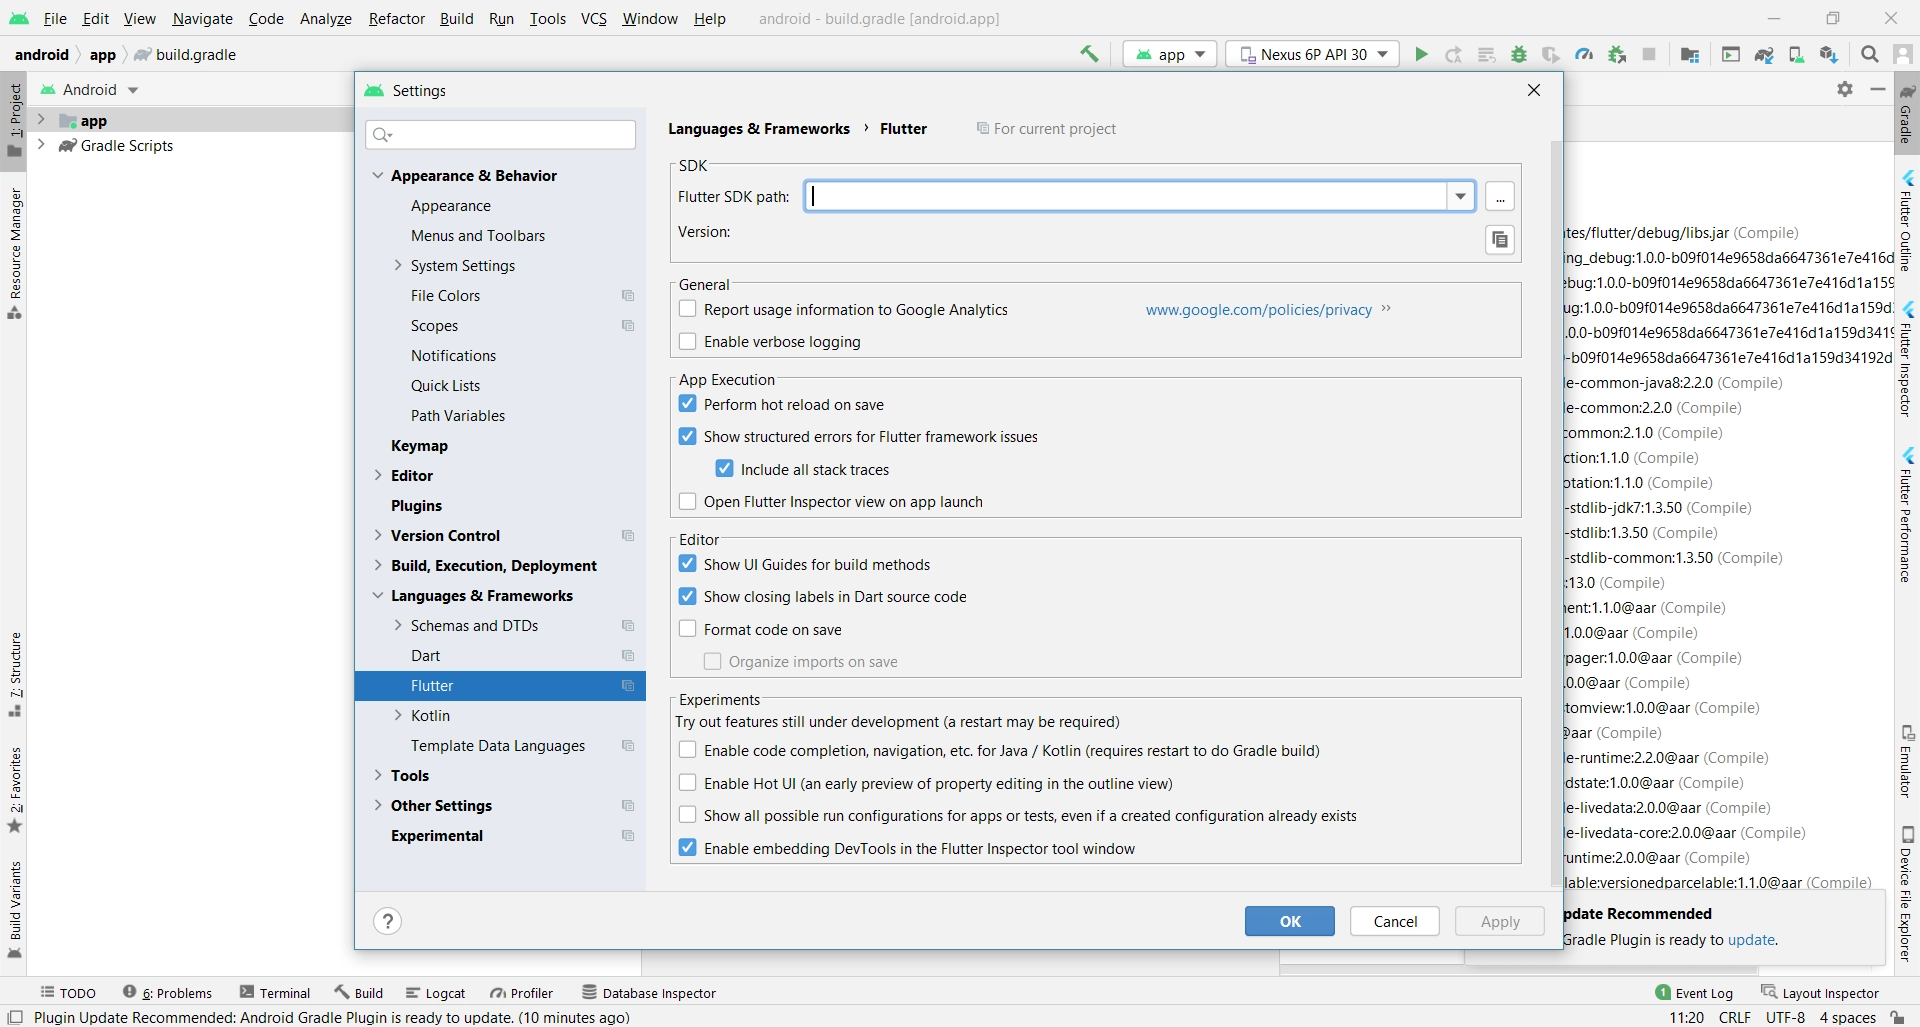
How to find the Flutter SDK path using Flutter doctor
This is the place that you unzipped the Flutter SDK download zip to. The best way to find it is to open your Terminal / Command / Git Bash window and type:
flutter doctor - vIn the first few lines of the output returned will be a line starting Flutter version x.x.x and then a folder path – that is the path you want to copy, and then enter in the Flutter SDK path textbox in the Settings Window in Android Studio. Click OK to save that and the Settings window will close – that’s how you change the Flutter SDK path in Android Studio.
If you can’t see anything called Tasks in the Gradle window, open settings in Android Studio again, but this time select Experimental Features from the left hand list and then uncheck Do not build Gradle task list during Gradle sync. Click OK and then sync the project.
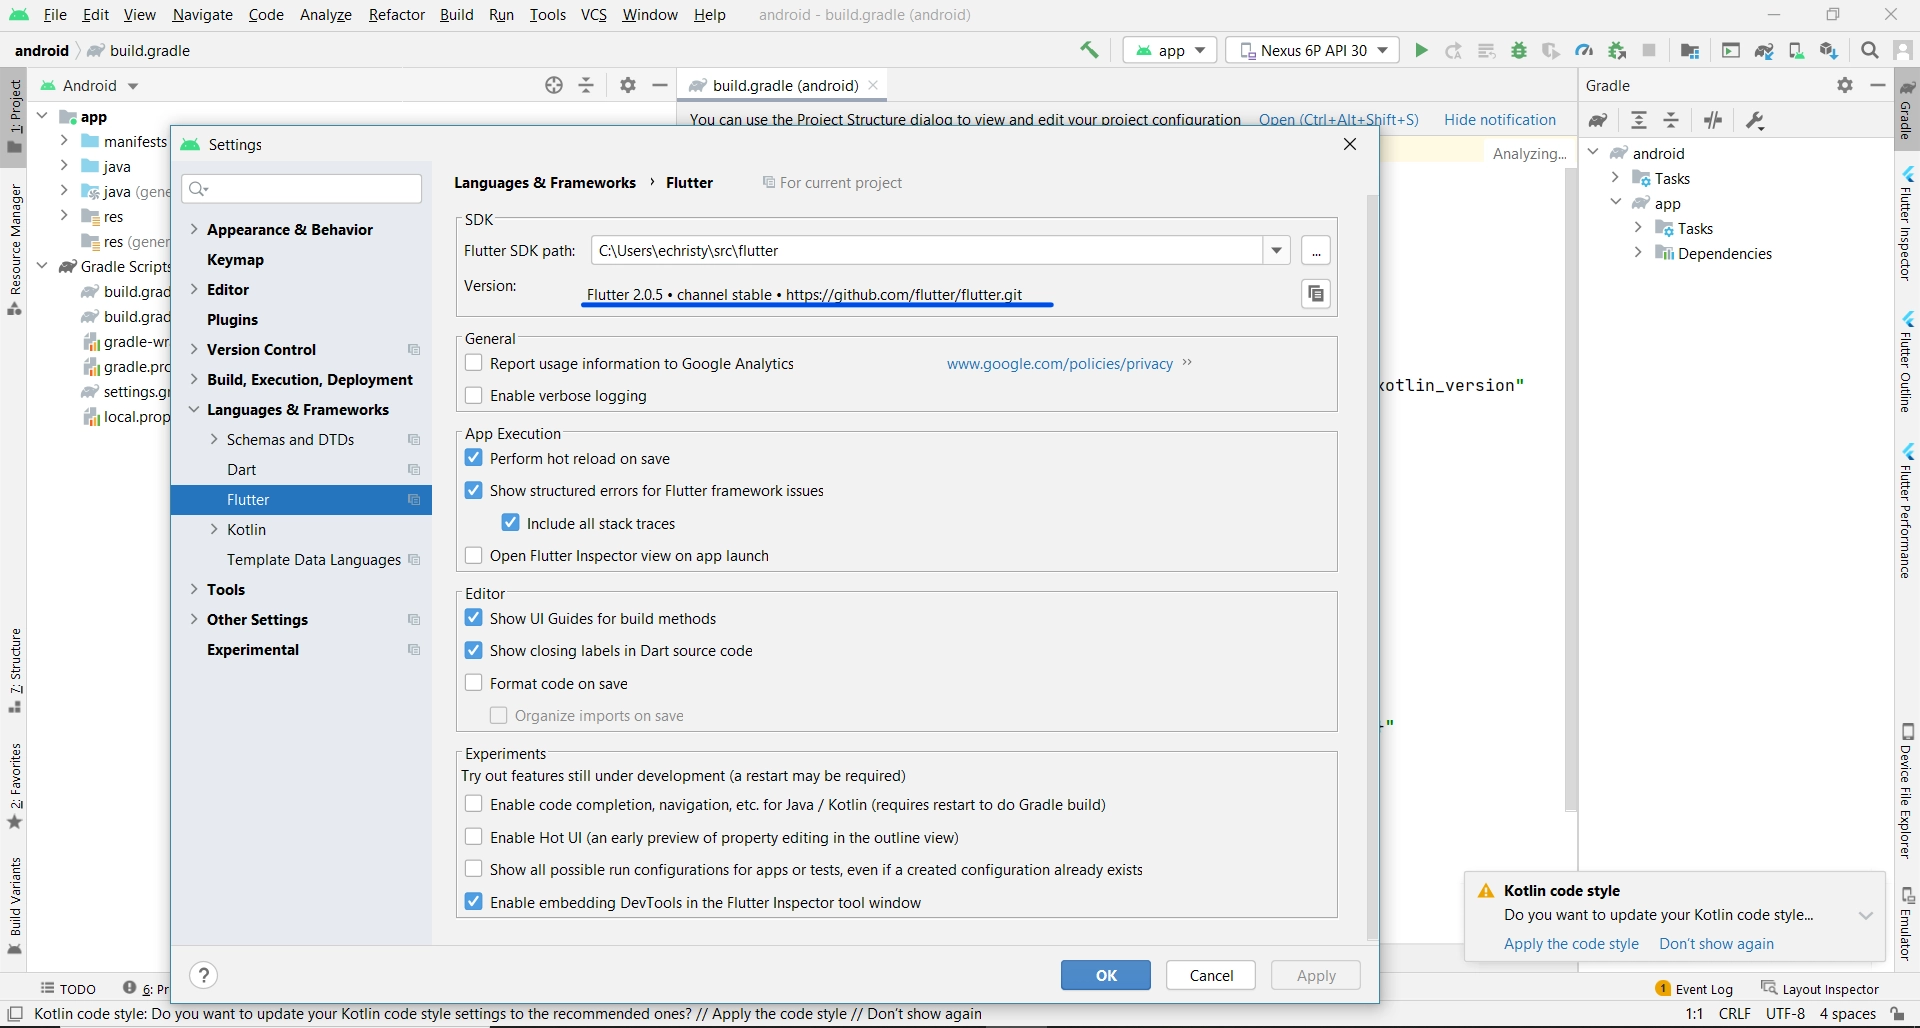
The Exceptions should disappear…
The exceptions should disappear and if you open Android Studio settings the SDK path should now be visible as shown in this screenshot, with the Flutter SDK version appearing after a moment.
Now that you have finished setting up the SDK path, and if you are new to Flutter you may find this getting started with Flutter post handy.